
This is part III in the series. You can find part I here, part II here, part IV here and part V here.
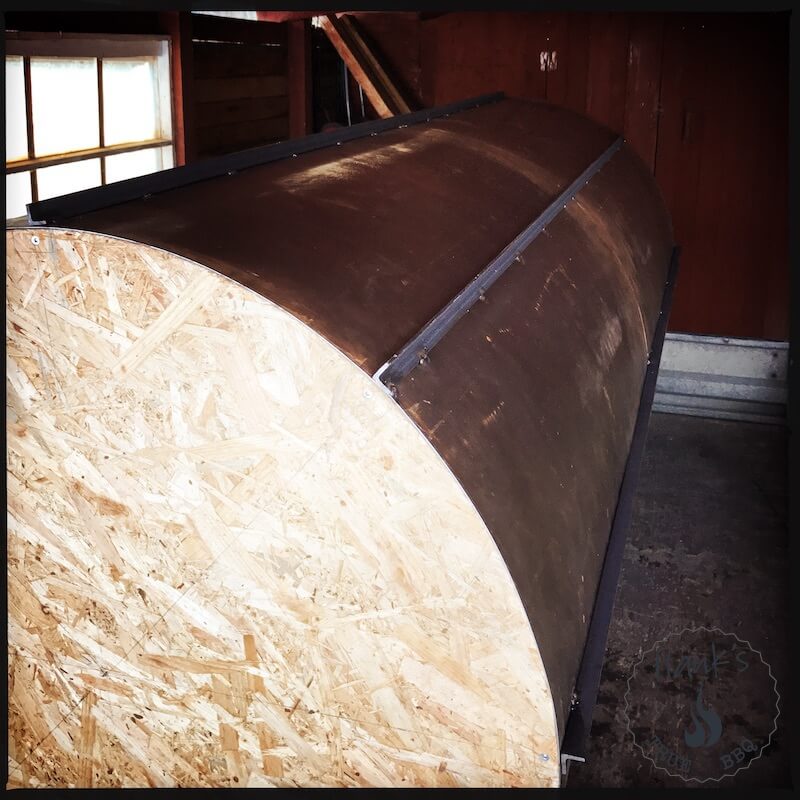
The build continues. It is time to assemble the large food chamber. Since it is made of thin sheet metal it needs a skeleton (sort of) to stay in shape. So I mounted eight angle irons running the length of the food chamber.
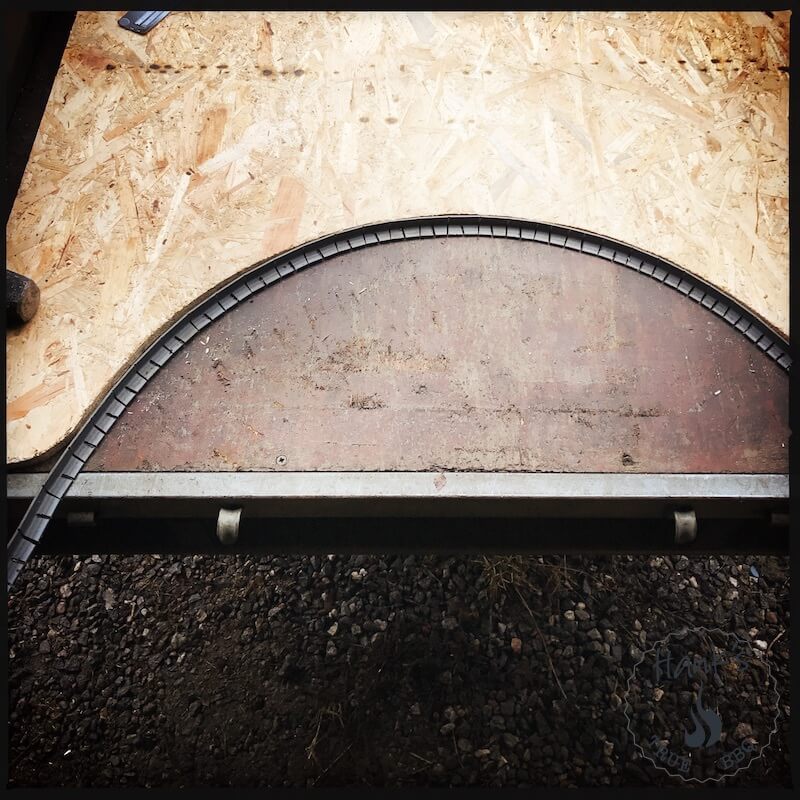
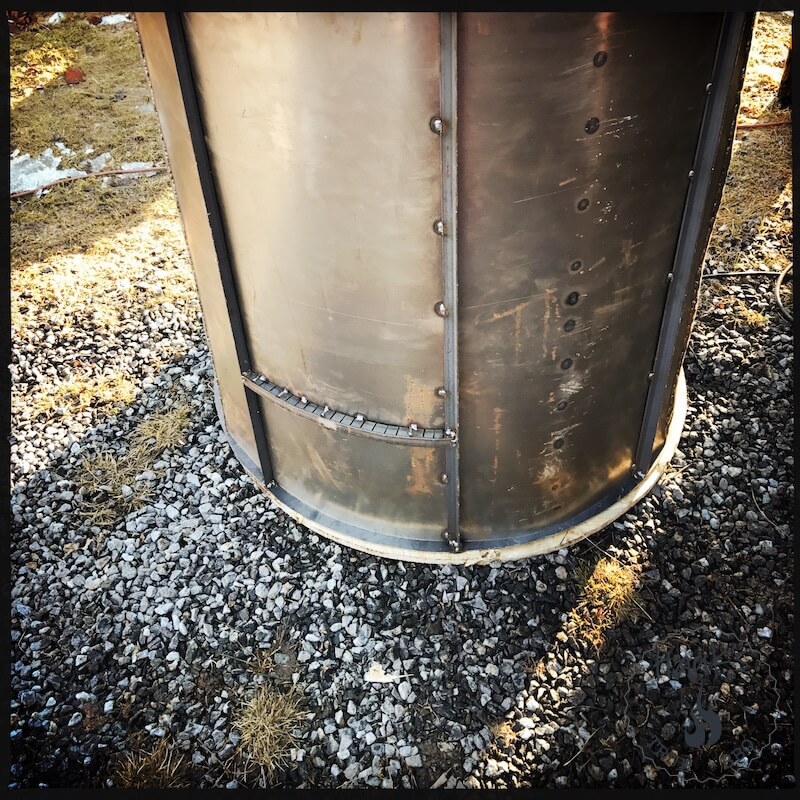
To make sure the legs won’t bend or flex the outer cylinder I made vertical sections of angle iron also. But in order to bend them properly I cut slots every half inch. This way I can bend them with my hands, shaped to fit perfectly.
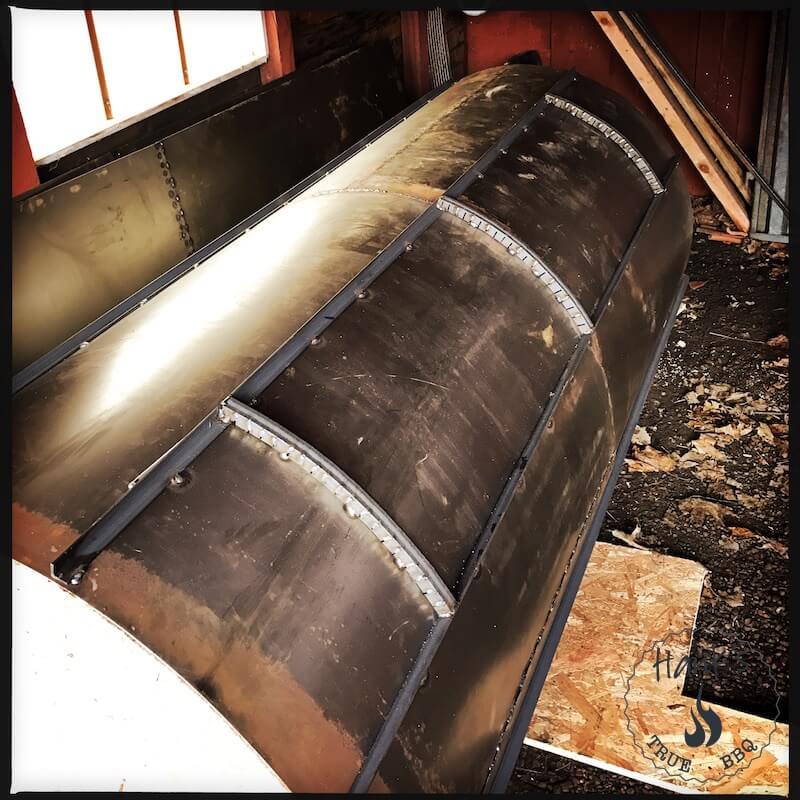
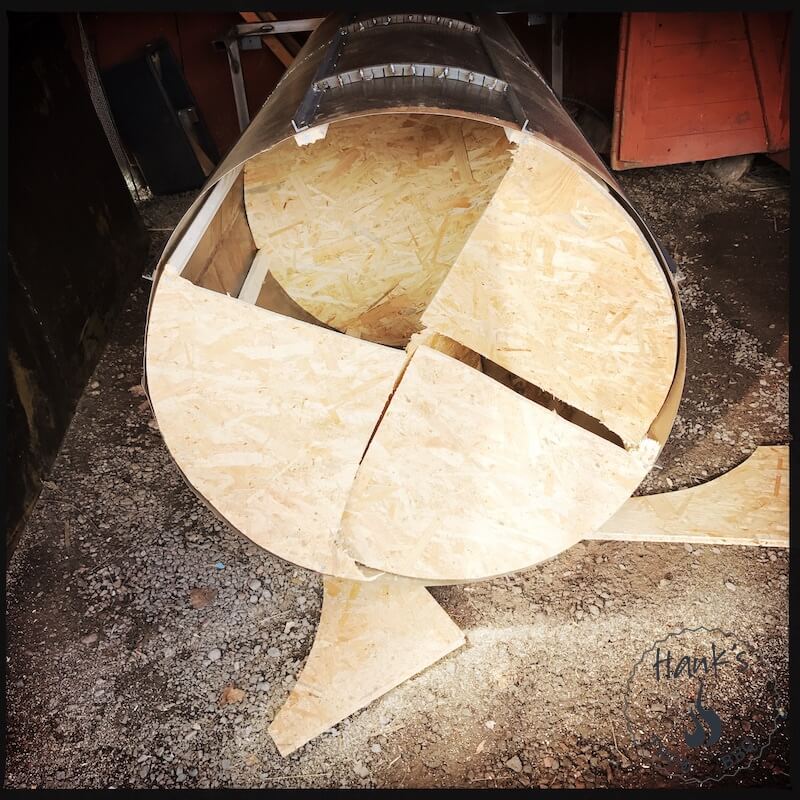
Since I had the original wooden board from which I cut out the wooden frame the size of the circle is just right. You can see three of them welded on to the main chamber below. They are located right where the legs will attach.
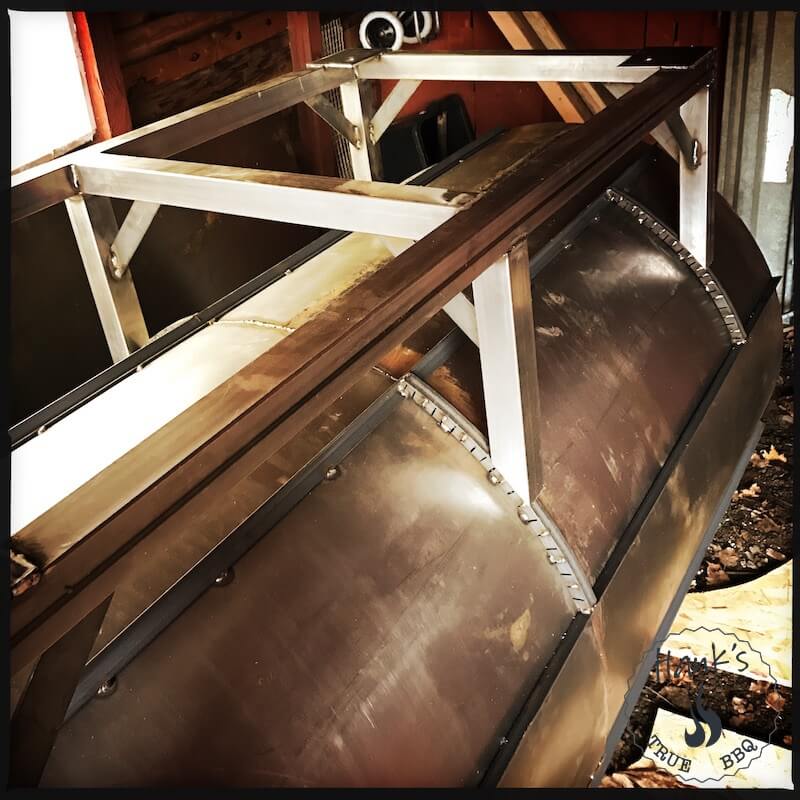
I did a test fitting of the leg frame before welding the outer cylinder just to make sure everything fits. It does 🙂
Now it’s time to remove the wooden frame that everything has been built upon/around.
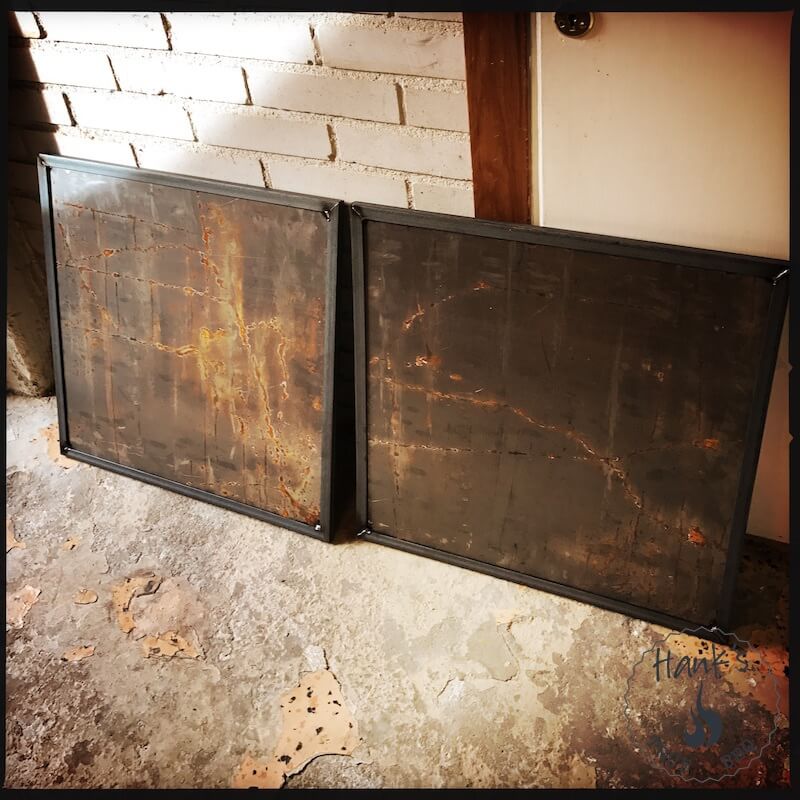
I fabricated the two doors today, that was a smaller job. I made them from 2 mm sheet metal, and welded frames out of angle iron.
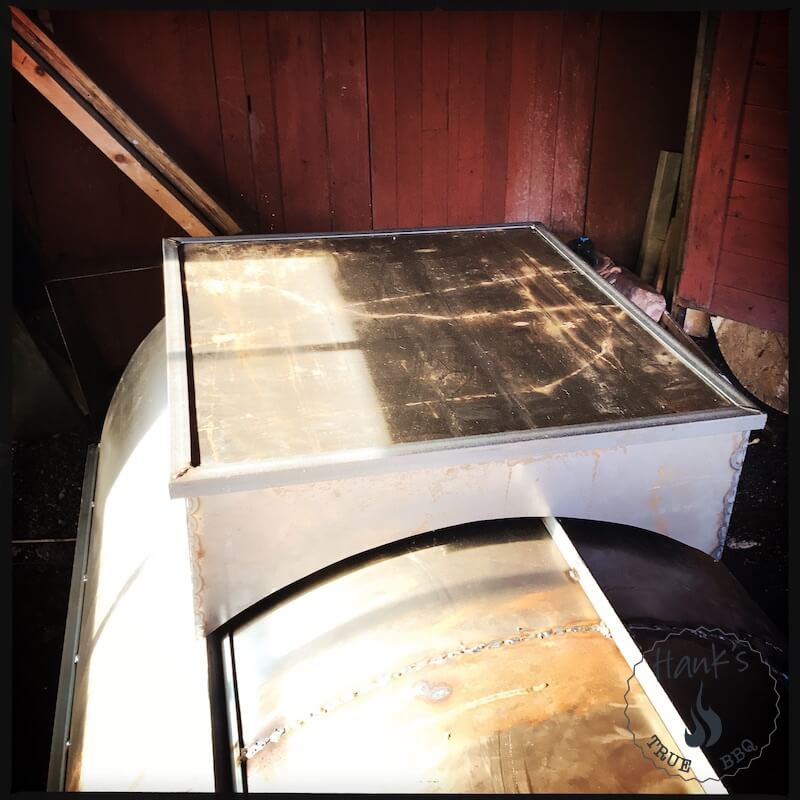
In order for the doors to fit the main chamber I fabricated adapter frames. I test mounted these below, to make sure the fit is just right.
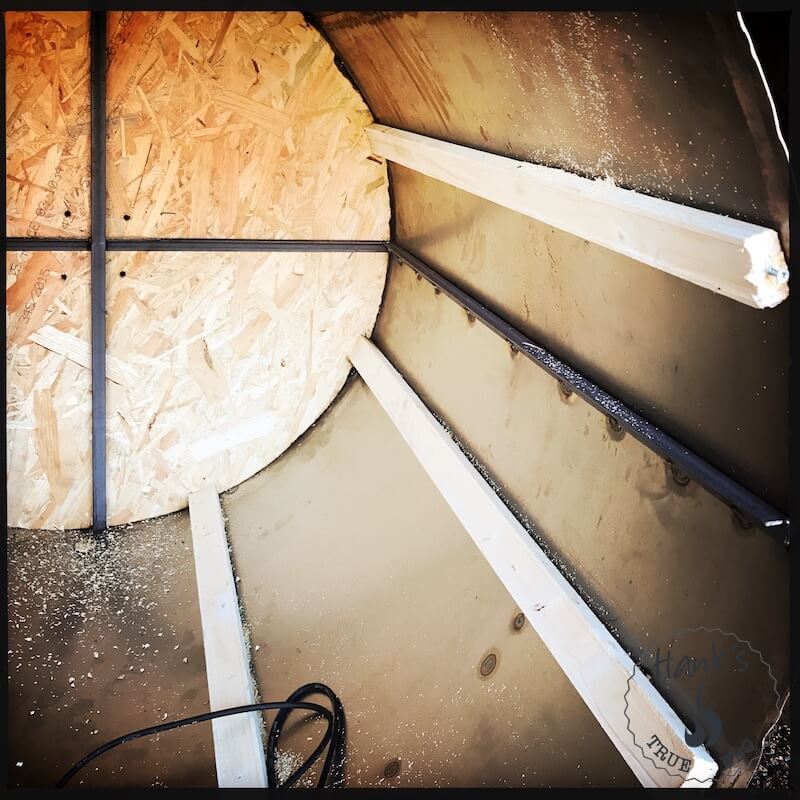
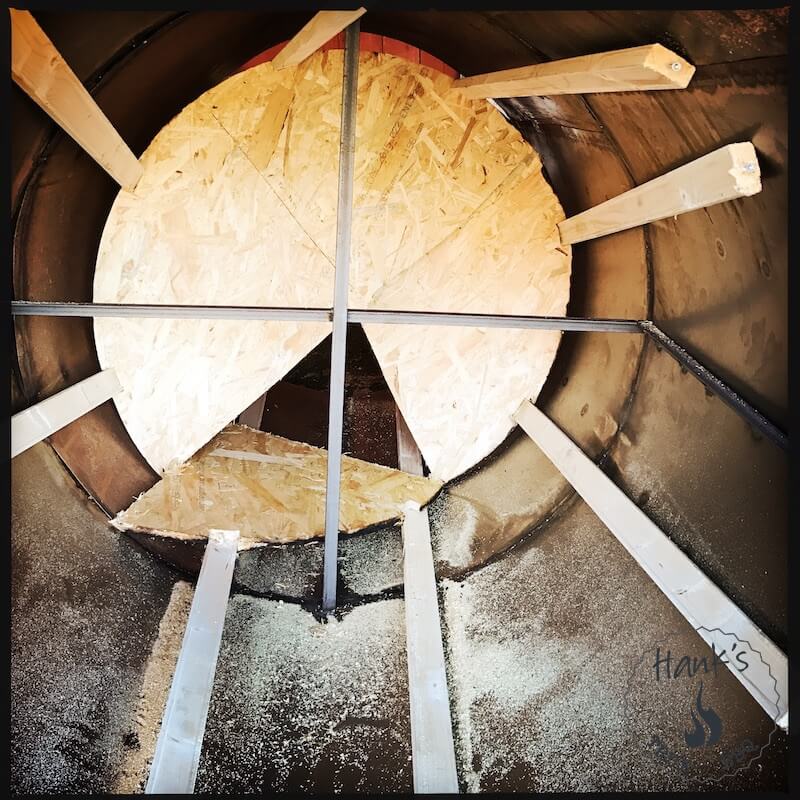
Before the last parts of the wooden frame is removed I welded support braces in place in the middle of the food chamber. I also welded the grill grate ‘bars’ in place, as this was way easier to do now than later when the chamber is welded shut.
Now it was time to finally remove the last parts of the wooden frame.
And finally I get to weld the first short end in place. I chose to erect the main chamber to get the best circular fit.
Follow the build in part IV here.