
This is part IV in the series. You can find part I here, part II here, part III here and part V here.
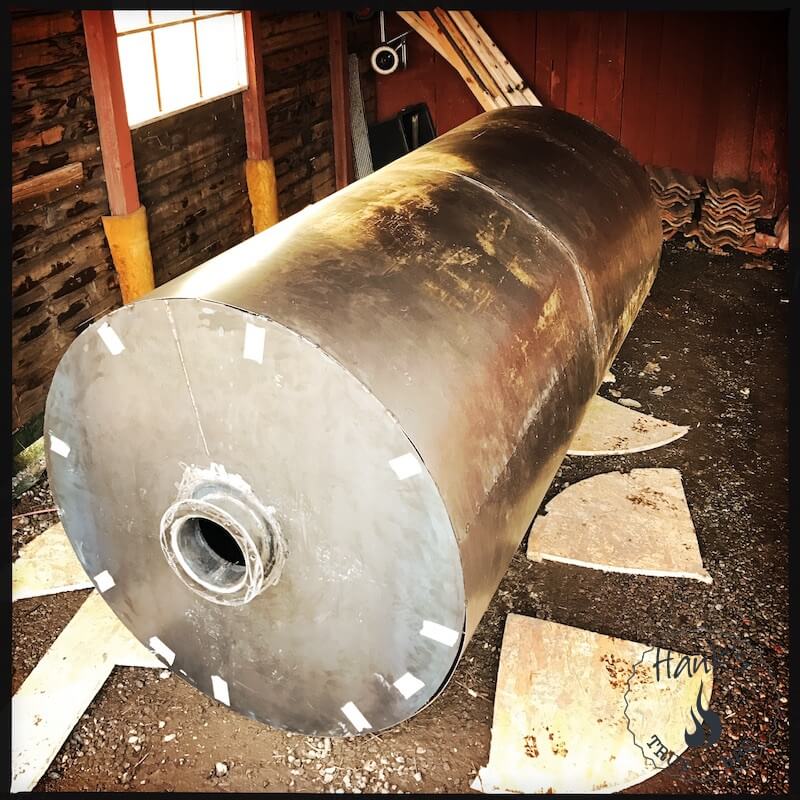
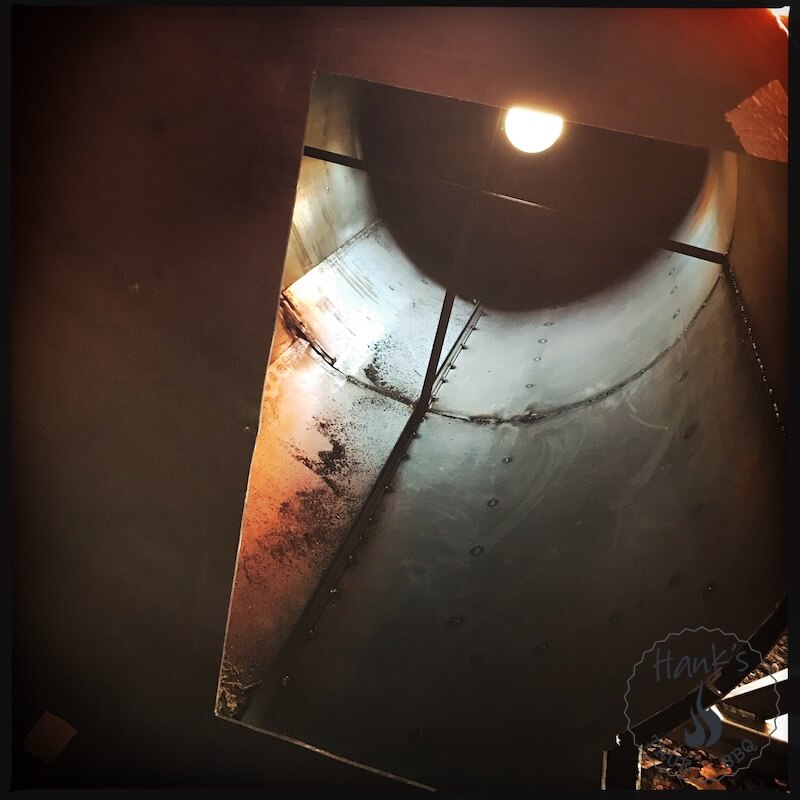
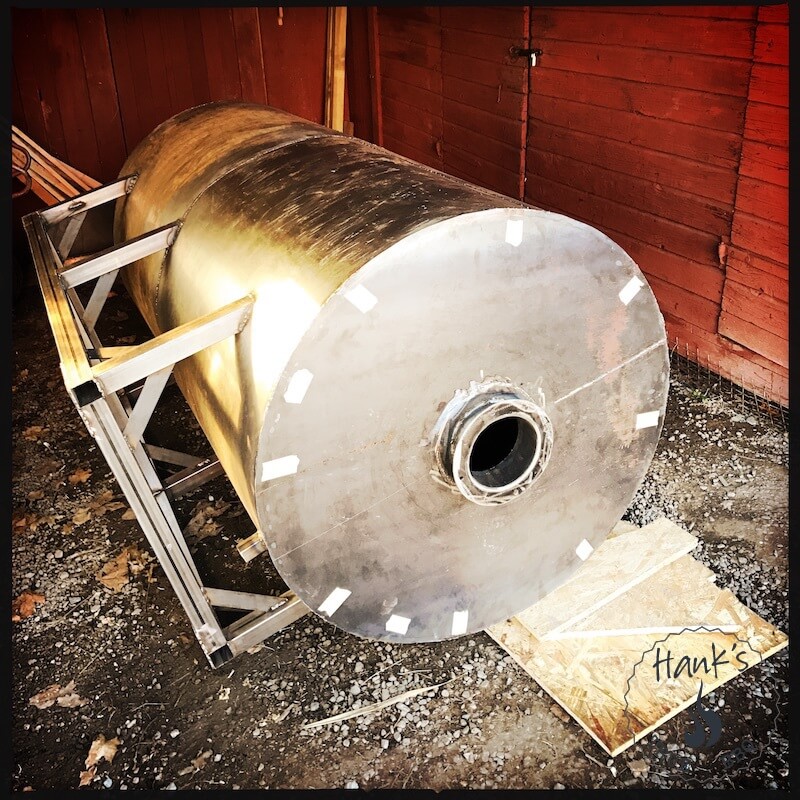
The build continues. It is time to weld the outer cylinder air tight. The pieces of tape you seen on the end is to mark where all the angle iron is located, so I know where to cut holes for the doors, as well as where to mount the legs.
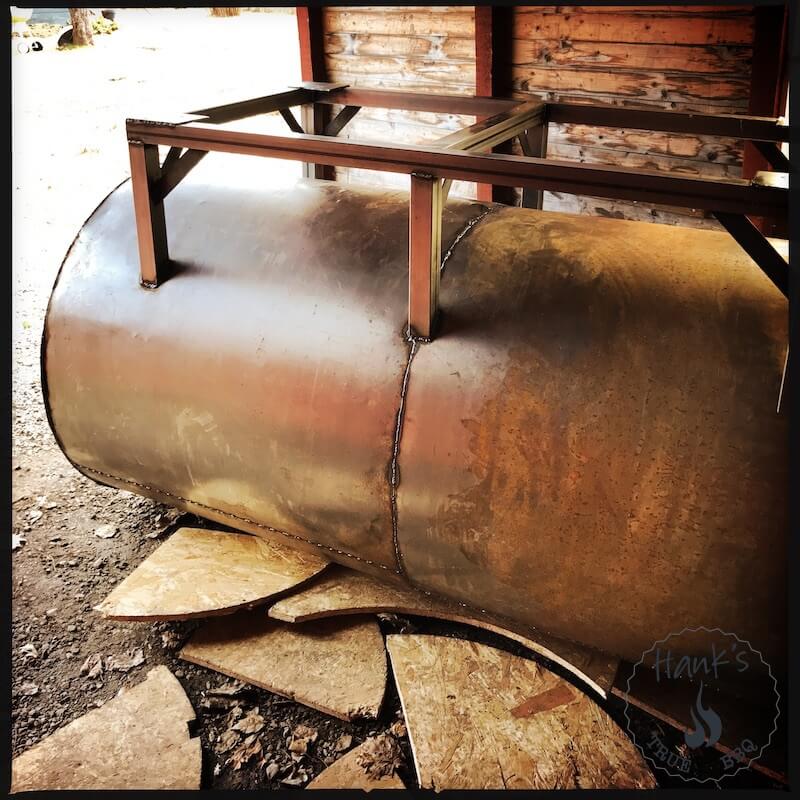
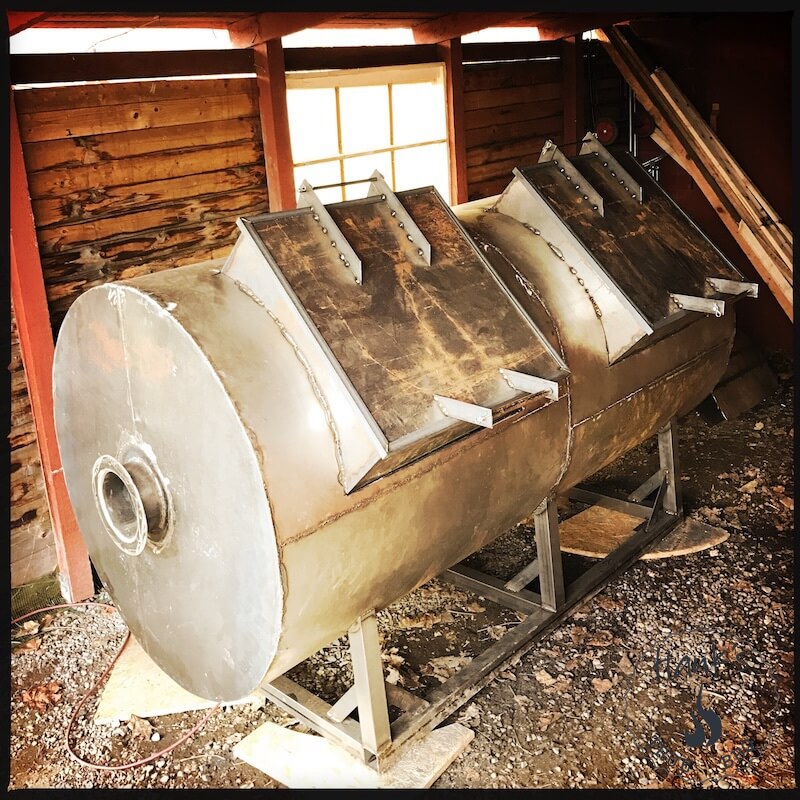
Once that was done I started mounting the leg frame. The angle is key here, so the smoke stack doesn’t point sideways like the tower of Pisa.
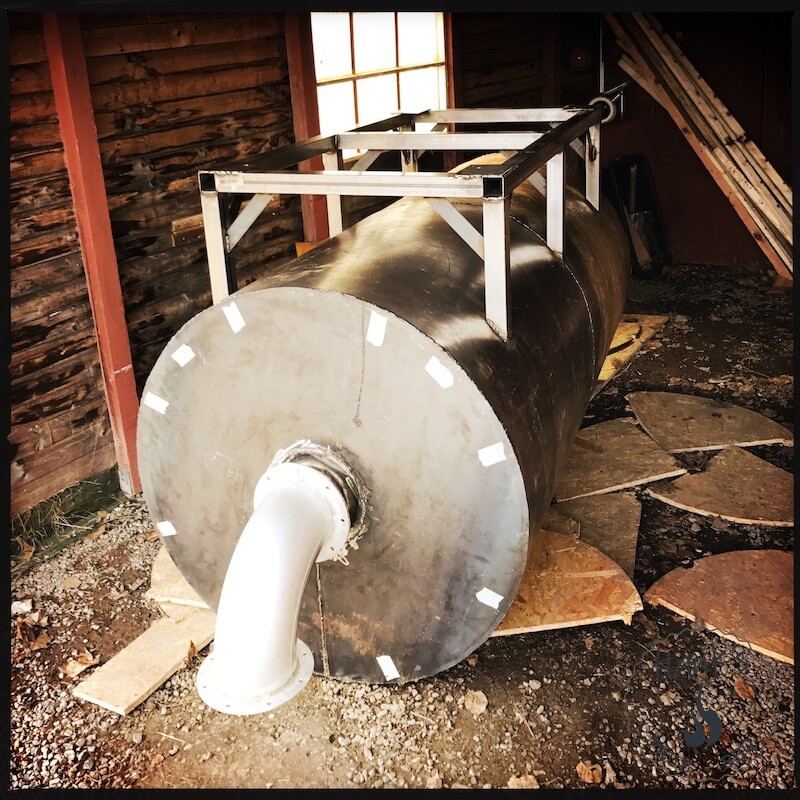
Here you can see the leg frame from another angle.
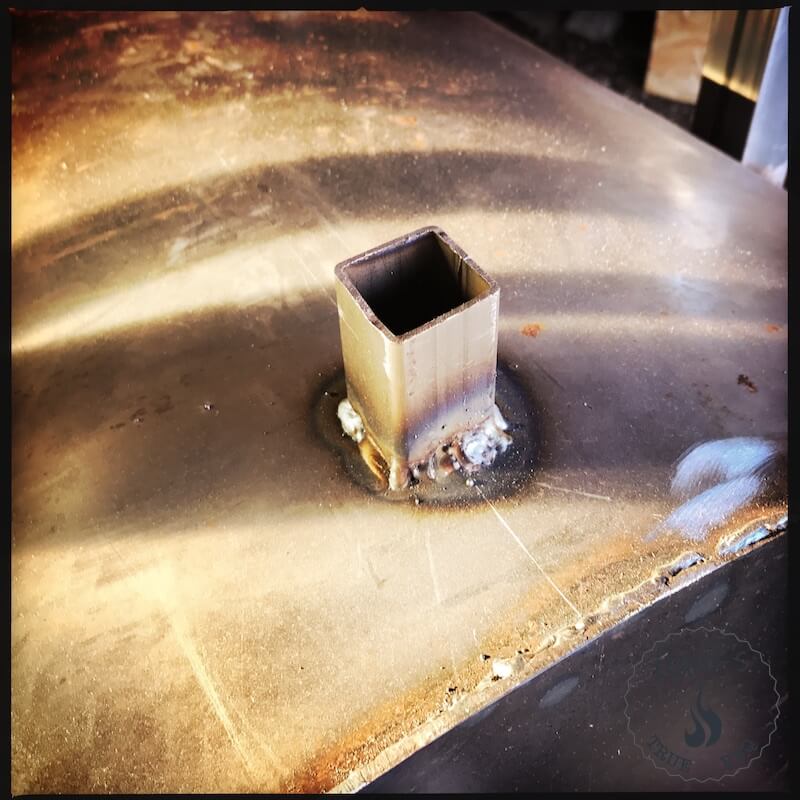
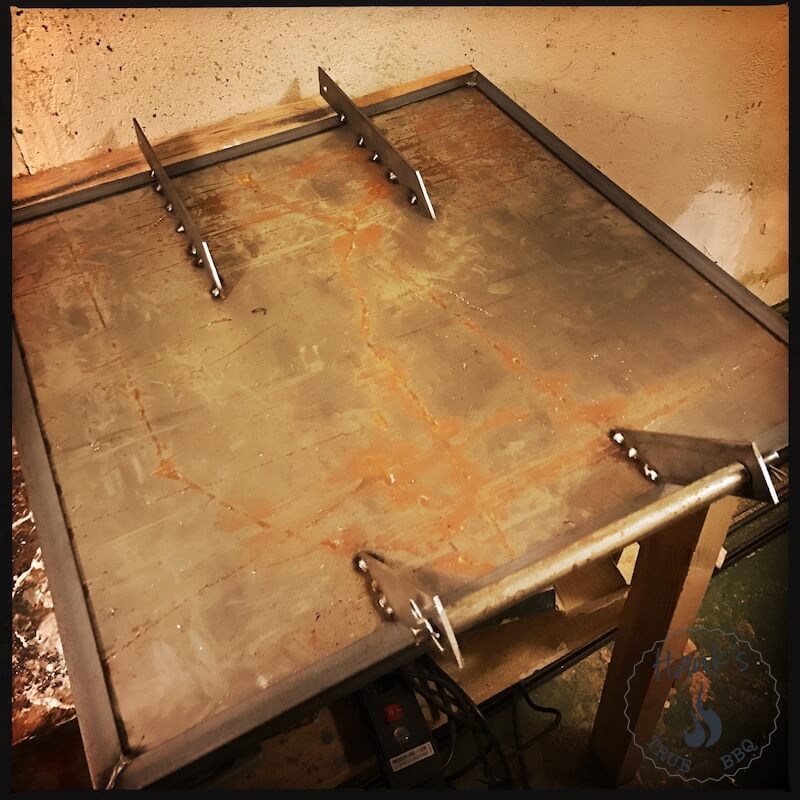
Before flipping the whole smoker upside down the drain pipe for fat and juices must be mounted. I made a small square hole in the bottom of the food chamber and mounted it:
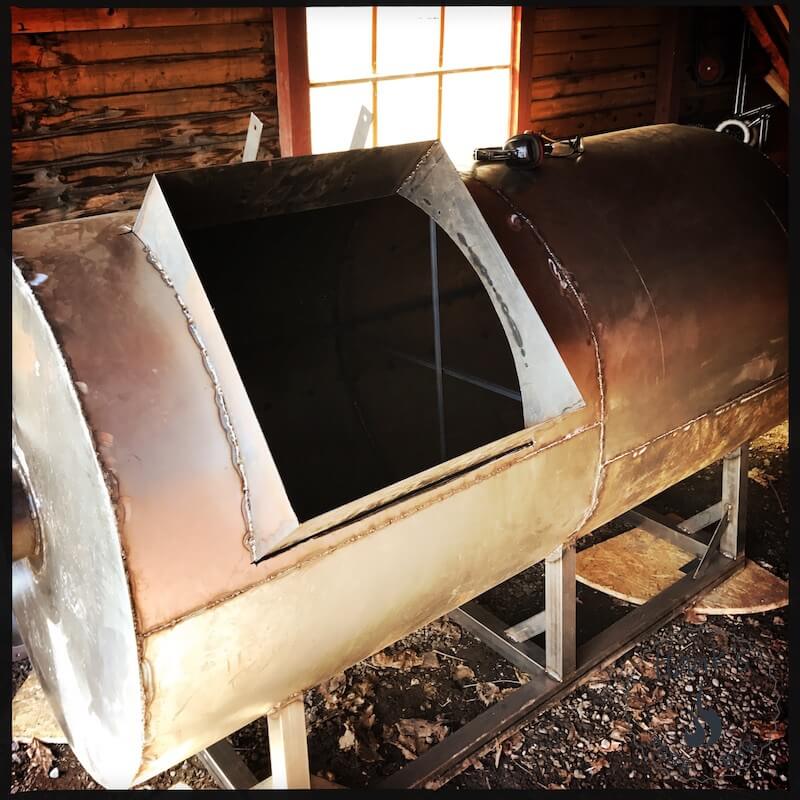
The time has come to cut a hole for the fire chamber. I used the jigsaw and steel grinder for this, it didn’t take long.
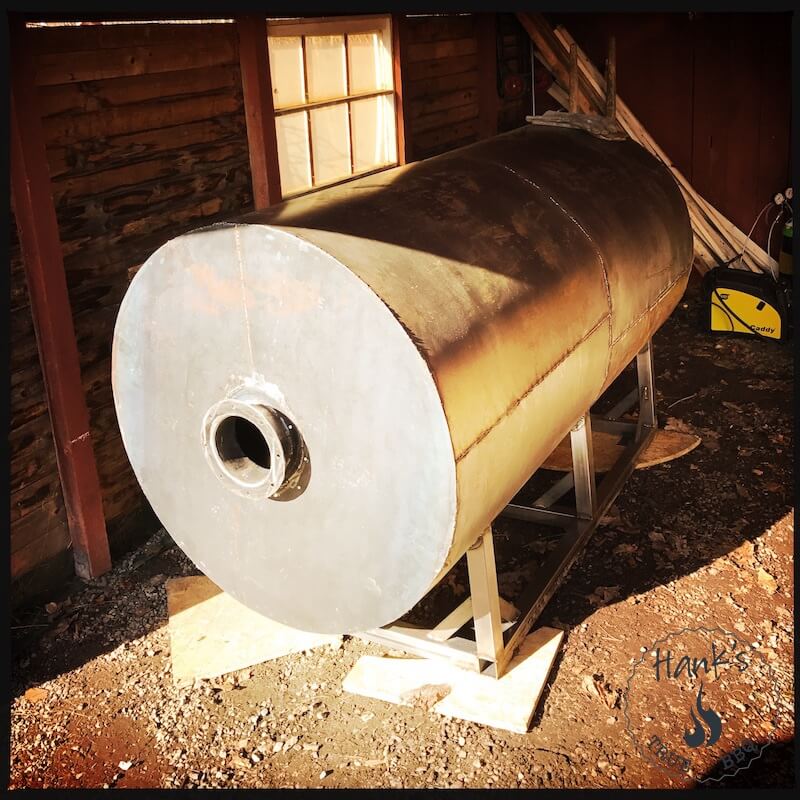
It is finally time to flip it right side up, so work on the doors can commence.
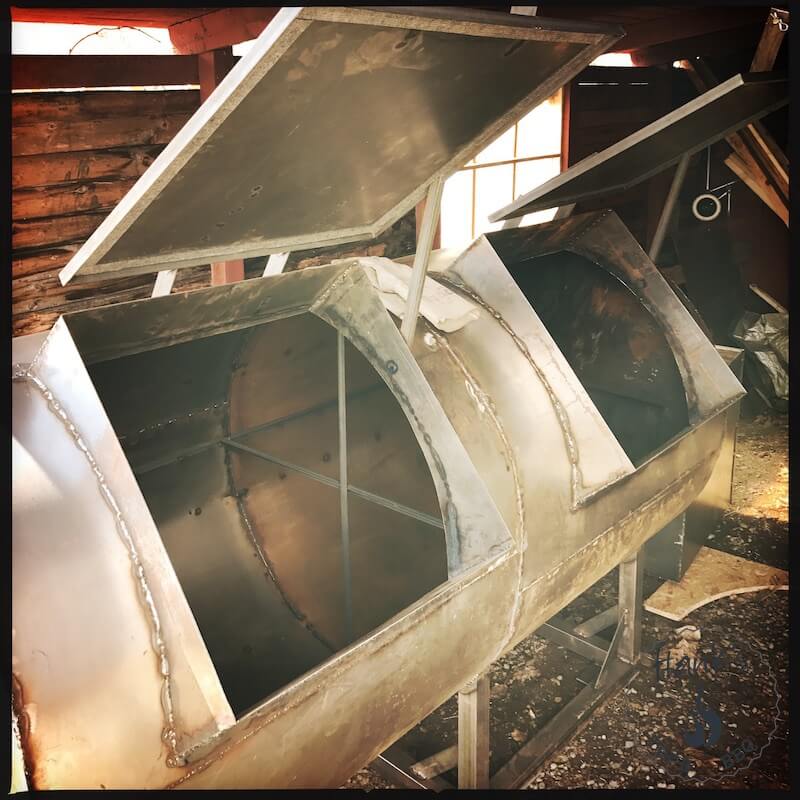
So this is what it looks like when standing on its own frame for the first time.
I’ve been meaning to fabricate hinges for the fire door for a long time, but never gotten around to it. Well, I built them today.
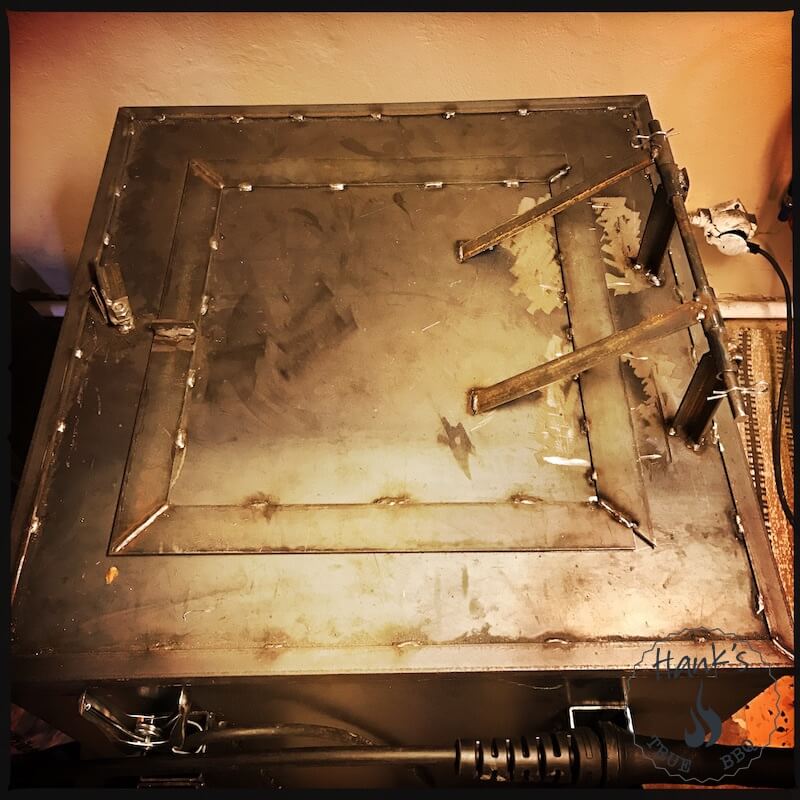
While at it I built hinges and handles for the food doors also.
In order to mount the doors I cut two large rectangular holes in the main tank. It took a while, but I managed to get a snug fit.
Once I had the second door tap welded in place, it was time to start sealing all welds.
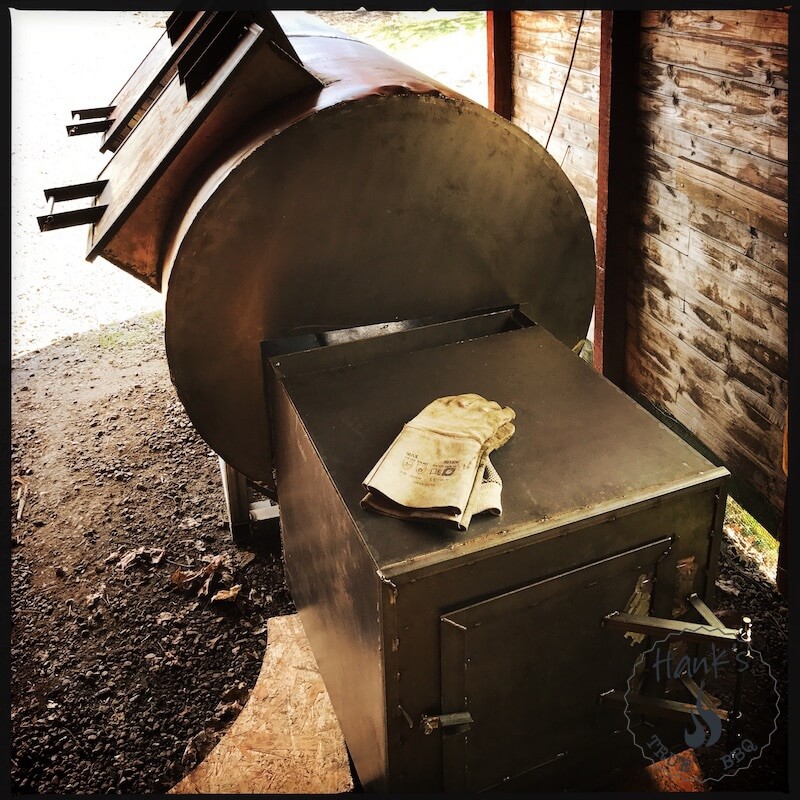
After working hard to cut hole for the firebox it was time to see if it fit.
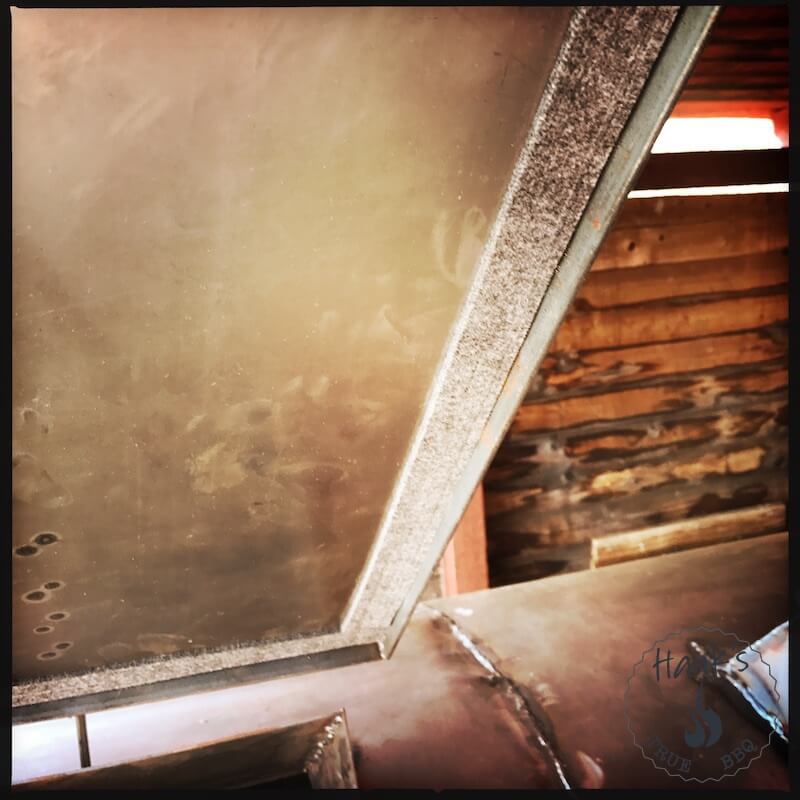
To make sure there are no air leaks in the main chamber I mounted gaskets in the doors. These are replacement gaskets for the Kamado Joe. I chose them since they are 1 inch wide.
Some finishing touches: I added support ‘legs’ to the doors so one can leave them open.
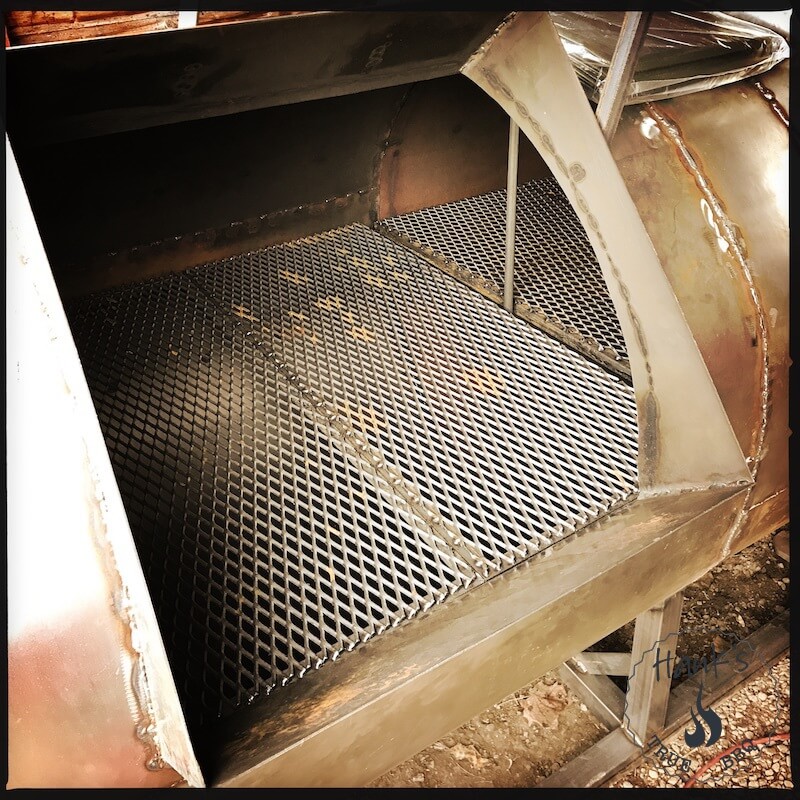
I also fabricated four grill grates. They are easy to take out for cleaning.
After welding a bevel frame where the firebox is mounted, it was time to slide it in place.
