
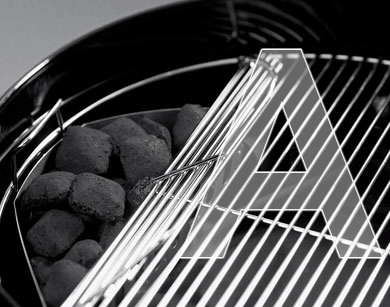
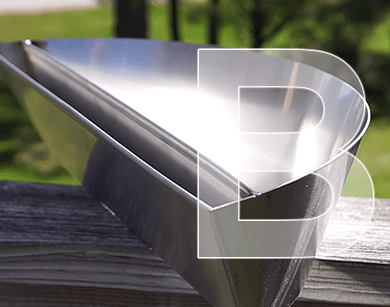
For kettle grill owners this is the one accessory that will take your grilling to the next level: Slow n’ Sear. It’s made by the good folks over at SnS Grills. You use it to separate your grill into 2 zones: one hot, and cold (or at least less hot…). There is a water “pocket” in between which has a dual purpose:
- It acts as a separator between the burning coals and the rest of the grill
- It produces steam by vaporizing the water in it.
As we all know steam is good for longer cooks. Kamado grills typically (by design) produce a more moist environment, but in a kettle a water pan goes a long way. Here you get it as an integral part of the Slow ‘N Sear.
Another good thing about the Slow ‘N Sear is that it is really good for searing or charring food, since all the briquettes are packed closely together, and they get real close to the grill grates. This means higher temp, which is good for searing.
It is real easy to get started:
Three modes of operation
1. Low ‘n slow
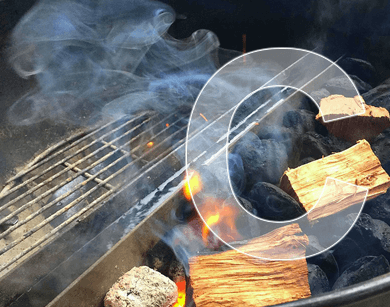
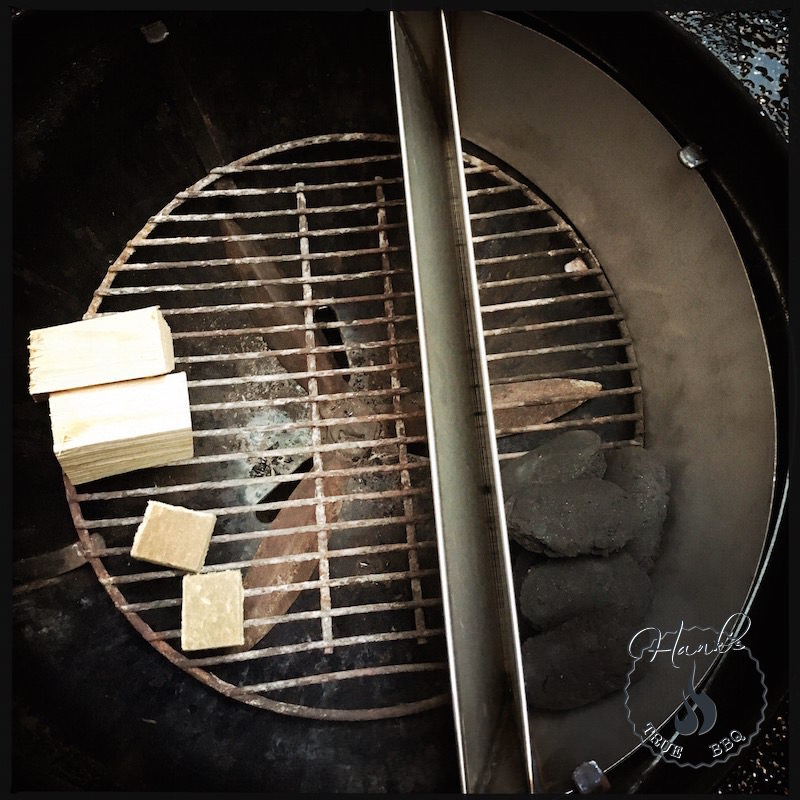
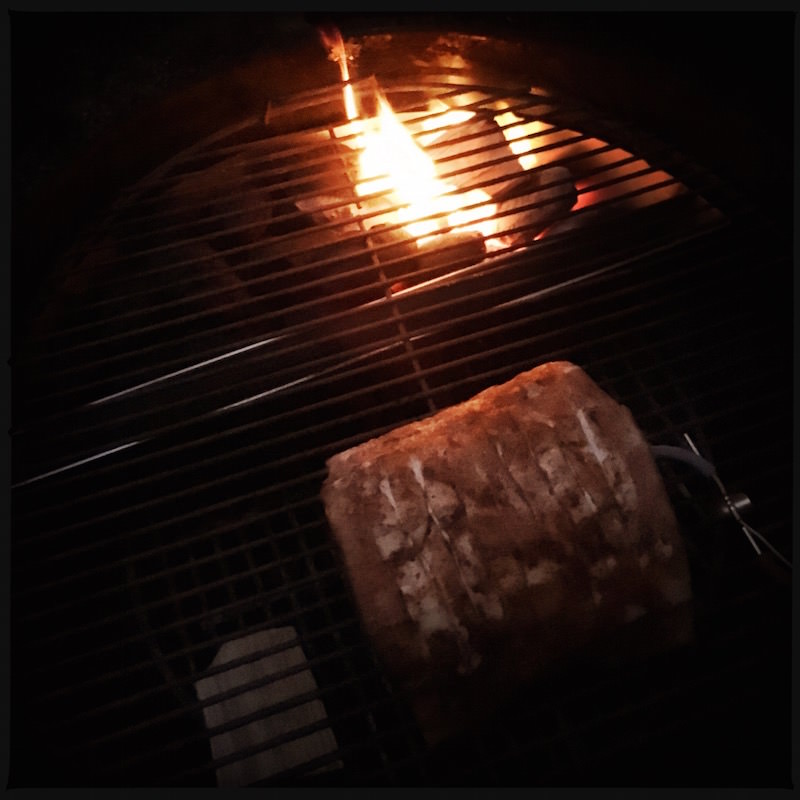
A big win with having a glowing bed of coals at one ‘end’ of the grill is to convert your grill to a classic smoker. Except for a bag of briquettes, you need a chimney starter, some chunks of wood for smoking, and some fire starter cubes.
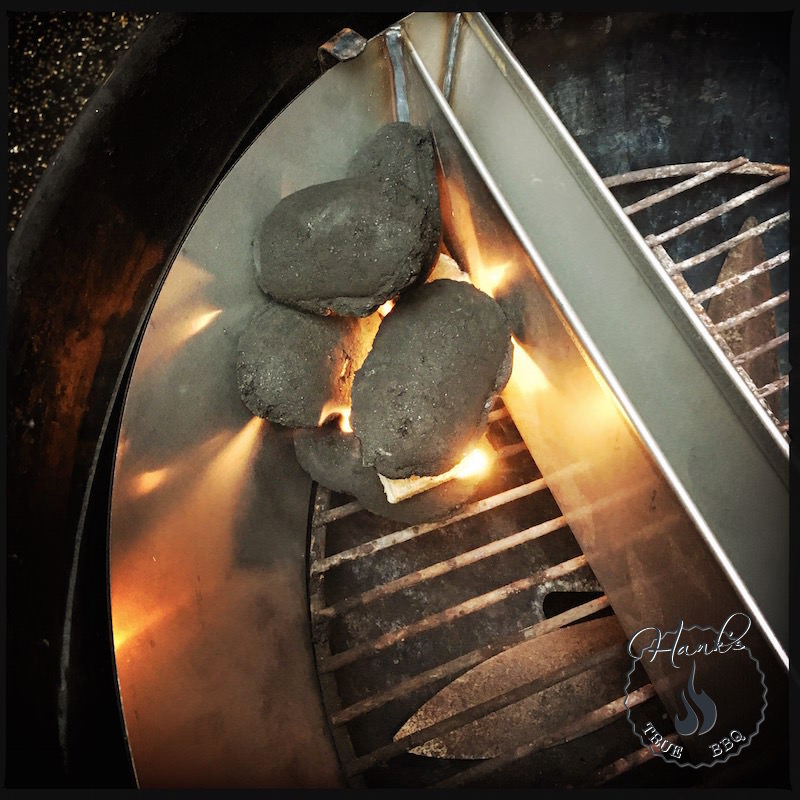
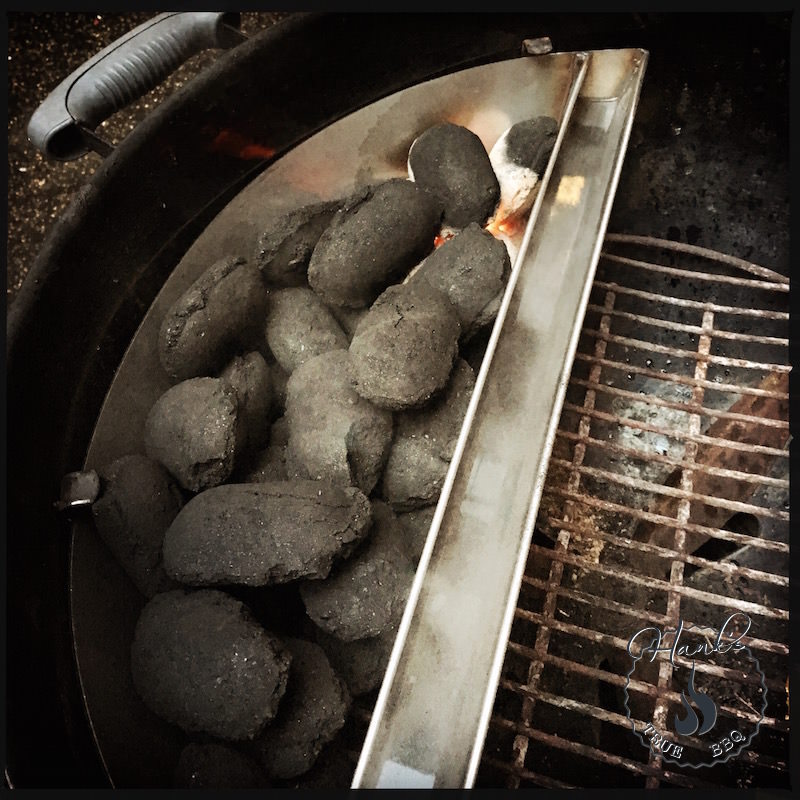
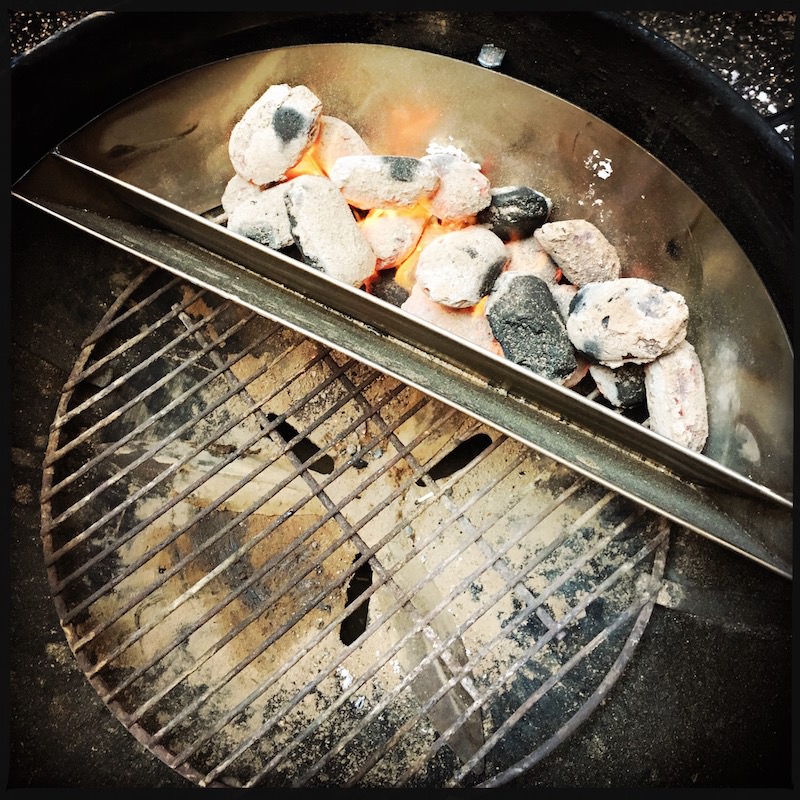
Start by placing a handful of briquettes (10-12) in one corner of the device, and light it up. Wait roughly 20 minutes or so, until they’re fully ashed over. Then add a chimney full of briquettes, gently. Make sure you don’t stack them above the edge, as it will be hard to fit the grates on top otherwise. Add hot water (I poured boiling water into a thermos flask first) to the water pocket, leave 1/2 inch of clearance at the top, i.e. don’t fill it all the way up to the edge. Also, as specified in the instruction manual; pour the water in at the other end of the device to avoid splashing of hot water.
I followed the instructions that came with it, and they are good. I had the bottom vents open halfways, and the top vent fully open. When the temperature got close to a 200° F, I closed the top vent halfways, then waited for it to dial in to 225° F. I find it very easy to adjust the temperature up and down with the top vent.
2. Hot ‘n fast
Another advantage with the Slow ‘N Sear is that it gathers the briquettes closely together, so when you need to sear a steak or give something a good char the temperature will be a lot higher. The briquettes will also be closer to the grill grates, which adds to the effect. Remember, the higher the temp, the better your sear will be.
Now, when doing direct sear, make sure you don’t put any water in the device. It will be too hot, causing the water to evaporate and splash, causing potential burns. Water is only for the low n’ slow.
Start by lighting a chimney full of briquettes. When they’re fully lit and ashed over, pour them into the device and let the grill heat up properly. Leave the lid off at all times.
3. ‘Chicken mode’
This is a third mode, of sorts, used for cooking chicken among other things. Here we cook at roughly 300° F, which is somewhere between low n’ slow and hot n’ fast. The reason is that chicken doesn’t take that long to cook, and you want to get crispy skin.
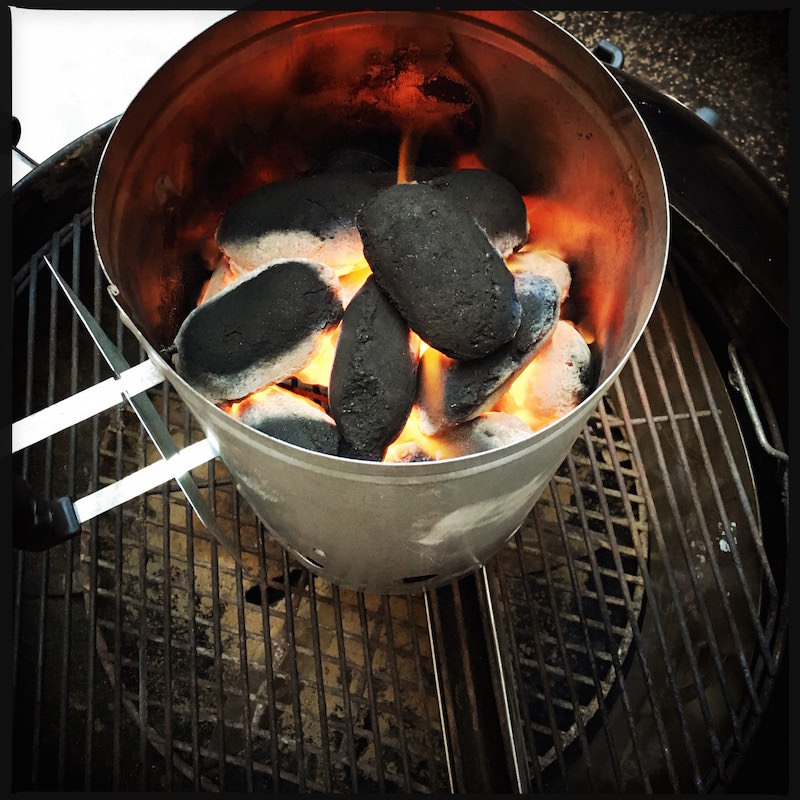
Start by lighting half a chimney of briquettes. When they’re fully lit and ashed over, pour them into the device and let the grill heat up properly. Put the lid on and adjust the vents. Do not use any water in the reservoir, as the fire will burn too hot. Set the vents to 1/2 open, and wait for the grill to heat up. When it approaches 180° F, dial down the vents and wait for it to settle in.
Bottom line
Should you get one? It is reasonably priced, built like a tank, and will make your kettle a lot more versatile. So, if you’re not planning on stepping up your game by buying a proper stick burner, then this is an obvious choice. It is easy to maintain and almost runs by itself. You can purchase it directly from SnS Grills, or Slow ‘N Sear.