
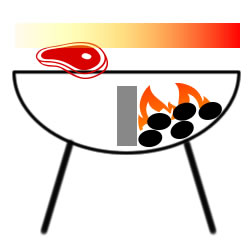
So, time to explain the different styles of cooking on a grill. The most common way is to use direct heat. This is how most kettle grills operate. However, most grills can be set up for both direct heat and indirect heat, solely based on how you place the coals. That is a Good Thing™, since that means you can use your existing gear.
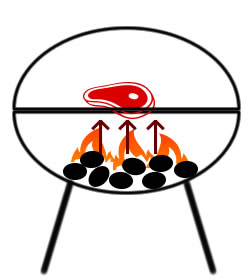
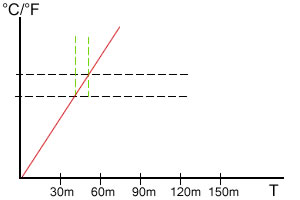
Direct heat is very simple: you place whatever you’re cooking directly over the flames. This (usually) means high heat, and good searing. The drawbacks is that when cooking larger pieces, they tend to be just right on the outside, and not ready in the middle, or too much char on the outside and dry on the inside.
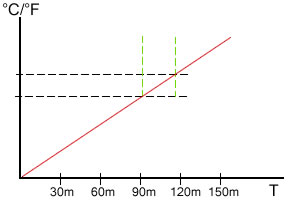
Indirect heat means you avoid placing the meat directly over the flames. This will (usually) mean lower heat, which allows you to cook the meat properly so you don’t end up with something dry and overcooked.
To summarize: indirect heat means lower temperature, which helps retain moisture.
Indirect heat is easy to accomplish. Different techniques are illustrated below, where a simple kettle grill is used as an example.
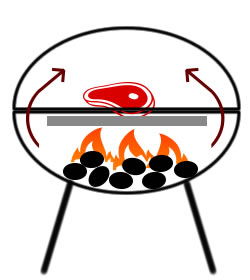
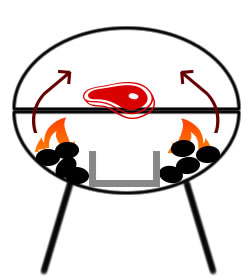


Typical examples of #2 are the Big Green Egg and the Primo Oval. Examples of #3 would be a kettle grill with a Vortex in it. I have also used the ring from a springform pan for this. Examples of 4 would be a kettle grill with a Slow ‘N Sear or a brick.
Different ways of setting up a kettle grill for indirect heat
2-zone cooking
So, why is indirect heat better? Well, the simple reason is that the end result turns out a lot better. With indirect (lower) heat you have better temperature control, and when needed, you can do a quick sear when the meat is almost done. This makes it way easier to hit your target temps, and gives you more time to do so.
Think for example if you were only allowed to use your kitchen stove on one temp setting. Wouldn’t that make cooking a lot harder? With 2-zone cooking, you have a hotter part and a colder part. This allows you to move the meat to/from the different temperature areas as needed. Most grills aren’t made for moving the grates up and down 10 or more inches. By using a 2-zone setup you move the meat horizontally instead, and accomplish the same thing.
How do I go from indirect to direct heat?
There are several ways to do this, depending on your grill and charcoal placement.
- If you have a kettle grill and have charcoal on one side of the grill, just move the meat over from the cooler to the hotter side.
- If you have a kettle grill with charcoal laid out like a snake, you need to pile the coal together and stoke the fire to get it hot ‘n ready.
- If you have a kamado grill like Kamado Joe, Primo Oval or Big Green Egg, remove the plate setter, open all vents and wait 5-10 minutes to get the fire going.
In all cases above, a tool like the BBQ Dragon may help.
What’s the big difference?
Regulating heat by simply moving the meat to the left or right helps you avoid dried and burnt meat.
Pingback: Schweinshaxe - Hanks True BBQ™