Learn how to dry age meat at home with dry age bags. What are the different ways of aging meat, and what are the gotchas? Read on to learn all the details.
Meat is aged as a natural part of the industrial meat production. The cadavres are hung in large rooms for a few days directly after slaughter, and they are also aged in cryovac bags that you can see on the shelves in your grocery store. Aging generally refers to improving the meat’s taste and texture.
Different types of aging meat
There are roughly three ways of aging meat:
Dry aging
The is in my opinion the best way of aging meat. Large hunks of meat are hung on hooks or placed on wire racks in large refridgerators, often with ventilation fans in place. With this method two types of aging take place: enzymatic aging and oxidation.
Vacuum aging, or cryo-vac aging
This is by far the most common way of aging meat, as it is the most cost efficient way of aging meat in an industrial scale. You place the meat in an oxygen-free bag. When using this method only enzymatic aging takes place, as all oxygen has been sucked out of the bag.
Dry age bags
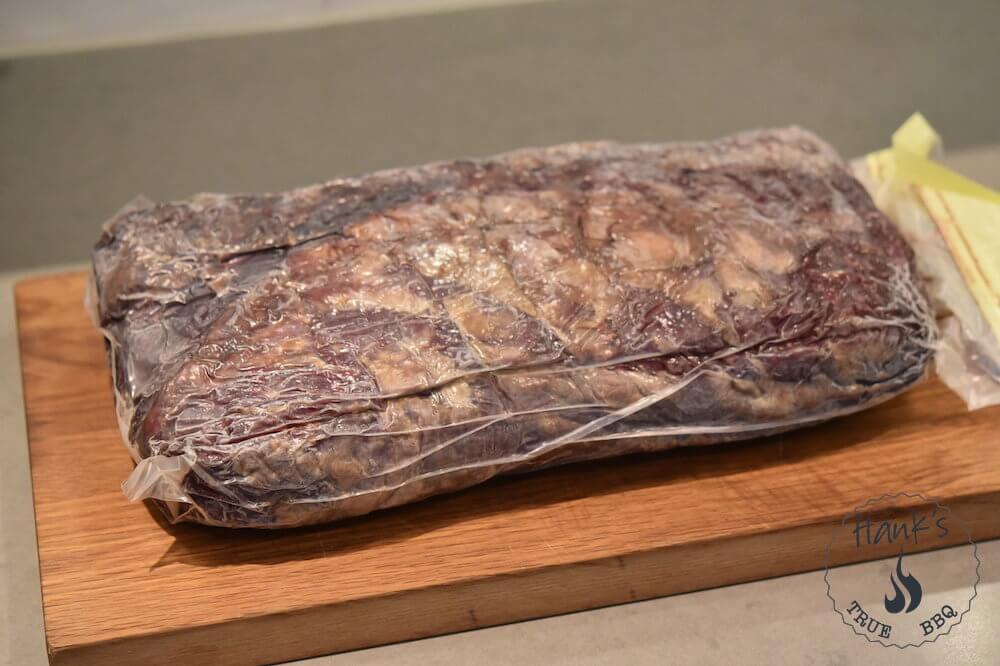
This is a good compromise, as the meat is placed in semi-permeable bags that let the moisture out, but very little oxygen in. When using this method you get both enzymatic aging, and a little bit of oxidation. The advantage of this method is that you can easily do it at home, using your existing fridge. Just make sure your fridge stays at or below 38° F.
Aging with dry age bags
When aging meat always use a whole cut of meat, not individual steaks. There’s too much waste/too little yield when dry aging small steaks. Get a whole ribeye or top sirloin weighing around 10-15 lbs for best results.
You don’t need to do anything with the meat before placing it in the bag. Don’t do any trimming, as the fat/membranes present will be trimmed off after the dry aging is done anyway.
It is important to keep the opening of the bag clean. You don’t want gunk entering your vacuum sealer, and you want to make sure you get a good seal. The best way to keep it clean is to fold the opening back 2 inches, and then do the same fold yet again.
Now place/slip the meat into the bag. It doesn’t matter if the bag is a little too large. Shake the bag just a little to wiggle that meat down into the bottom of the bat. This is to avoid air pockets in hard to reach locations. Now fold the opening of the bag back up/out. Voilá, you have a squeaky clean opening of the bag.
Place the opening of the bag so all of it is in the vacuum trough. Suck the air out manually (manual setting on the machine) until you’re happy. Now create a seal, then pull the bag back 1/2 inch, and create another seal, just to be safe.
Fridge placement
The meat must be placed on wire rack. If you don’t have any in your fridge, get one from Home Depot or similar. The reason for placing it on a rack is to have air circulating all around, transporting away moisture.
Now leave the meat in the fridge from anywhere from 20 to 45 days. This is a very general rule, and it all depends on what type of meat it is, as well as your flavor preferences. Here’s plenty of room for experimenting, to find the sweet spot for you.

Post dry age check
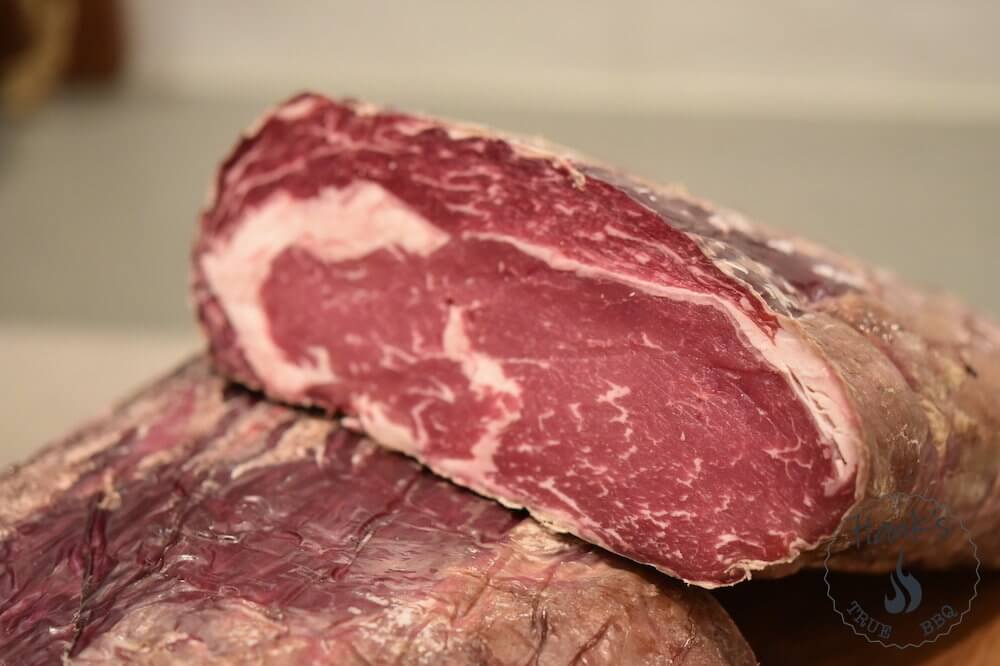
Make sure to inspect the bag and meat for any unwanted growth. It is not worth the risk of eating funky food. Make sure you smell the meat once the bag is removed. Your nose is a very important tool.
Slice and Trim
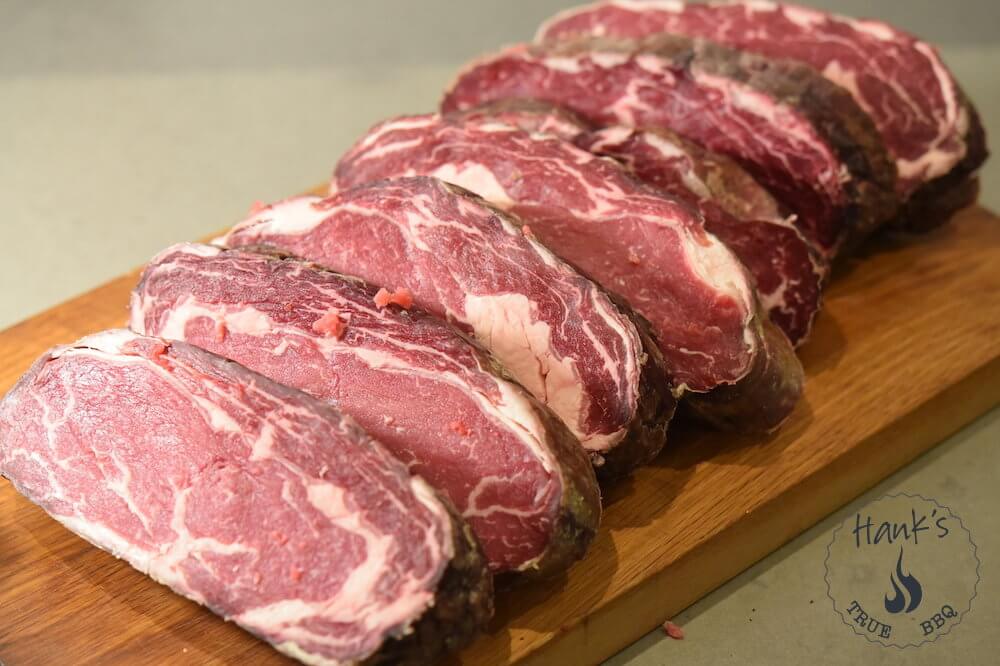
I always cut the meat in thick slices first, and then trim off the dry leathery surface. I think it is easier that way. The dry surface doesn’t taste good, but don’t throw it away. It is great for making your own beef stock.


Thank you for the interesting post on dry aging. May I ask what brand of dry aging bag do you recommend?
I have used Tublin and Umai, and they both work fine. The prices tend to differ, so look around and see where you can find the best deal.
Pingback: Best 11 can you dry age in vacuum bags - bryanadvisors.com